由于电脑重装了一次,发现之前Hexo与NexT主题版本过于落后,重新部署了下。
1 Node.js与git安装
这一块安装就不赘述了。去两个官网找安装文件安装即可。
node.js
git
打开git以后配置的几个关键命令行。
1
2
| git config --global user.name "你的github名字"
git config --global user.email "你的邮箱地址"
|
生成ssh密钥,根据地址找到ssh密钥文件,用记事本打开。
ssh-keygen -t rsa -C "你的邮箱地址"
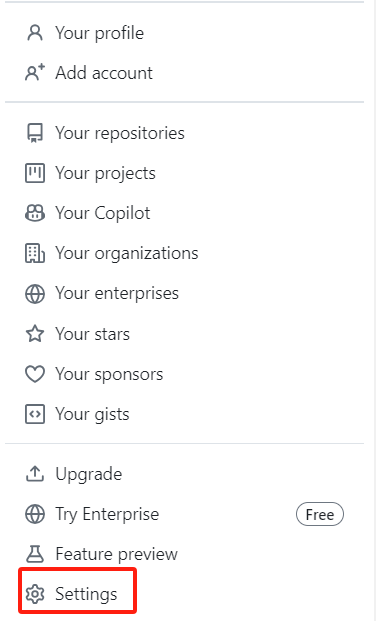
根据上面然后在自己的github账户上设置中进行上传密钥。


关于安装成功测试,可以输入以下几个命令。


关于重新部署的原因,最早是安装一些插件报了错。

后面虽然有一些参考资料的语句是有用的,但是整体还是因为比较古老的版本各种bug,于是痛定思痛决定重新部署。
2 Hexo与NexT主题安装
Hexo的博客我前面写过很多了,有兴趣大家可以移步前面。这里主要讲最新的几个安装步骤。首先给出官网文档。
Hexo
1
2
3
4
5
| npm install hexo-cli -g
hexo init blog
cd blog
npm install
hexo server
|

相关hexo主题。
Hexo可选主题
我还是选择老朋友NexT主题。
NexT官方仓库
NexT官方文档
1
2
| cd "你的博客根目录"
npm install hexo-theme-next
|
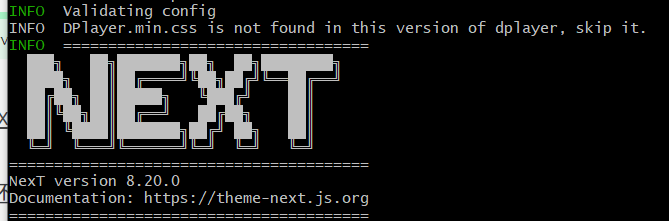
显示NexT版本。
然后安装部分插件。
1
2
3
4
5
6
7
8
9
10
| npm install hexo-tag-cloud@^2.0.* --save
npm install --save hexo-tag-aplayer
npm install hexo-tag-dplayer --save
npm install --save hexo-pdf
npm install --save hexo-admin-qiniu
npm install hexo-generator-searchdb
npm install hexo-filter-mathjax
npm install hexo-word-counter
npm install hexo-related-posts
npm install next-theme/hexo-next-valine
|
从git上clone下next主题,修改配置文件。
1
| git clone https://github.com/next-theme/hexo-theme-next themes/next
|
Hexo配置主题的本质就是有两个_config.yml,一个是根目录下的,一个是主题文件下的。根据这两个进行不同的修改。
相关配置文档和仓库:
配置过程中的几个注意事项。valine出现了一个报错是“Cannot read property ‘enable_sync’ of undefined”,后面发现需要在根目录的配置文件添加如下的命令即可正常运行。

关于配置valine评论系统时报了401的错误。且以前的评论不显示。需要配置serverURLs。具体配置可以见参考资料的内容,这里不赘述了。
3 自定义的一些插件
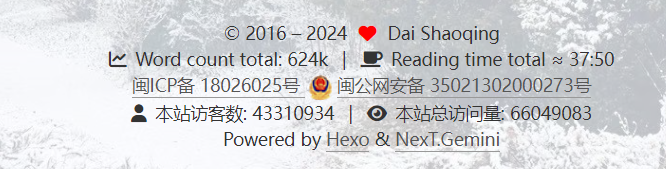
3.1 页脚修改
这个地方主要是修改了下访客数量和访问总量那两部分中文。打开theme/next/layout/_partials/footer.njk文件。在画圈部分加上中文即可。

效果图。
3.2 侧边栏插入访客可视化、词云、建站时间以及最近推送文章
这些插件主要实现方式是,在根目录/source下建立一个新的文件夹_data,然后新建一个sidebar.njk的新文件并输入如下的代码。
1
2
3
4
5
6
7
8
9
10
11
12
13
14
15
16
17
18
19
20
21
22
23
24
25
26
27
28
29
30
31
32
33
34
35
36
37
38
39
40
41
42
43
44
45
46
47
48
49
50
51
52
53
54
55
56
57
58
59
60
| <div id="days"></div>
</script>
<script language="javascript">
function show_date_time(){
window.setTimeout("show_date_time()", 1000);
BirthDay=new Date("你的建站时间");
today=new Date();
timeold=(today.getTime()-BirthDay.getTime());
sectimeold=timeold/1000
secondsold=Math.floor(sectimeold);
msPerDay=24*60*60*1000
e_daysold=timeold/msPerDay
daysold=Math.floor(e_daysold);
e_hrsold=(e_daysold-daysold)*24;
hrsold=setzero(Math.floor(e_hrsold));
e_minsold=(e_hrsold-hrsold)*60;
minsold=setzero(Math.floor((e_hrsold-hrsold)*60));
seconds=setzero(Math.floor((e_minsold-minsold)*60));
document.getElementById('days').innerHTML="已运行"+daysold+"天"+hrsold+"小时"+minsold+"分"+seconds+"秒";
}
function setzero(i){
if (i<10)
{i="0" + i};
return i;
}
show_date_time();
</script>
<script type="text/javascript" id="clstr_globe" src="//cdn.clustrmaps.com/globe.js?d=你自己的数字"></script>
{% if site.tags.length > 1 %}
<script type="text/javascript" charset="utf-8" src="{{ url_for('/js/tagcloud.js') }}"></script>
<script type="text/javascript" charset="utf-8" src="{{ url_for('/js/tagcanvas.js') }}"></script>
<div class="widget-wrap">
<h3 class="widget-title">Tag Cloud</h3>
<div id="myCanvasContainer" class="widget tagcloud">
<canvas width="250" height="250" id="resCanvas" style="width:100%">
{{ list_tags() }}
</canvas>
</div>
</div>
{% endif %}
{%- if theme.recent_posts %}
<div class="links-of-recent-posts motion-element">
<div class="links-of-recent-posts-title">
{%- if theme.recent_posts.icon %}
<i class="{{ theme.recent_posts.icon }} fa-fw"></i>
{%- endif %}
{{ theme.recent_posts.title }}
</div>
<ul class="links-of-recent-posts-list">
{%- set posts = site.posts.sort('date', 'desc').toArray() %}
{%- for post in posts.slice('0', theme.recent_posts.max_count) %}
<li class="links-of-recent-posts-item">
{{ next_url(post.path, post.title, {title: post.path}) }}
</li>
{%- endfor %}
</ul>
</div>
{%- endif %}
|
另外在NexT主题的配置文件中也要修改下。

访客可视化以及建站时间效果。

文章标签词云以及最近推送文章效果。

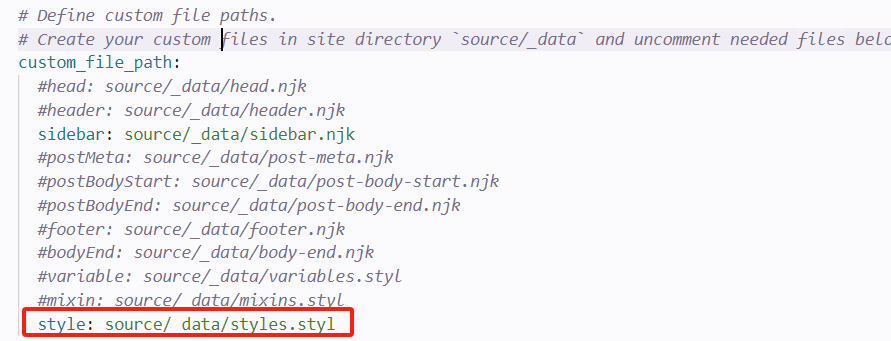
3.3 背景图的替换以及下方背景色块设置
同样需要在根目录/source/_data下新建一个style.styl的新文件并输入如下的代码。
1
2
3
4
5
6
7
8
9
10
11
12
13
14
15
16
17
18
19
20
21
22
23
24
25
26
27
28
29
30
31
32
33
34
35
36
37
38
39
40
41
42
| #days {
display: block;
color: rgb(7, 179, 155);
font-size: 13px;
margin-top: 15px;
}
body {
background: url(http://media.gisersqdai.top/snzs.jpg);
background-size: cover;
background-repeat: no-repeat;
background-attachment: fixed;
background-position: 50% 50%;
}
// 页面底部页脚
.footer {
line-height: 1.5;
background-color: rgba(255, 255, 255, 0.75);
color: #333;
border-top-width: 3px;
border-top-style: solid;
border-top-color: rgb(161, 102, 171);
box-shadow: 0px -10px 10px 0px rgba(0, 0, 0, 0.15);
}
// 选中文字部分的样式
::selection {
background-color: rgb(255, 241, 89);
color: #555;
}
.links-of-recent-posts
font-size: 0.8125em
margin-top: 10px
.links-of-recent-posts-title
font-size: 1.03em
font-weight: 600
margin-top: 0
.links-of-recent-posts-list
list-style: none
margin: 0
padding: 0
|
也需要在NexT配置文件中修改。
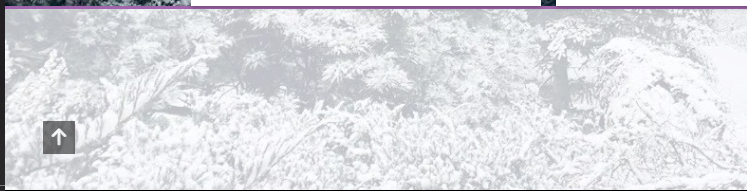
背景色块效果。
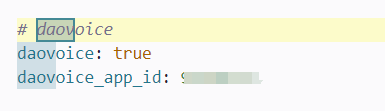
3.4 Daovoice
增加一个Daovoice支持的聊天界面。daovoice控制台。在next/layout/_partials/head/head.njk文件中加入如下代码。
1
2
3
4
5
6
7
8
9
| {% if theme.daovoice %}
<script>
(function(i,s,o,g,r,a,m){i["DaoVoiceObject"]=r;i[r]=i[r]||function(){(i[r].q=i[r].q||[]).push(arguments)},i[r].l=1*new Date();a=s.createElement(o),m=s.getElementsByTagName(o)[0];a.async=1;a.src=g;a.charset="utf-8";m.parentNode.insertBefore(a,m)})(window,document,"script",('https:' == document.location.protocol ? 'https:' : 'http:') + "//widget.daovoice.io/widget/0f81ff2f.js","daovoice")
daovoice('init', {
app_id: "{{theme.daovoice_app_id}}"
});
daovoice('update');
</script>
{% endif %}
|
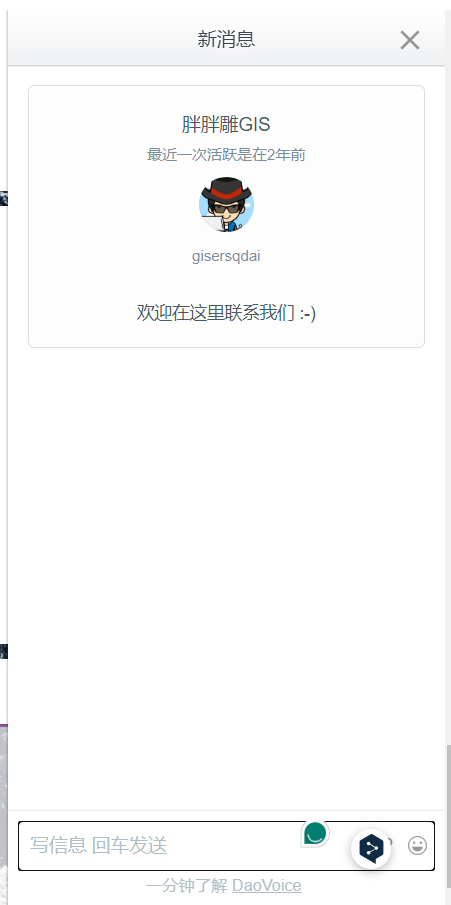
NexT配置文件中增加。
效果图。
参考资料: